PiDroid is really nice...

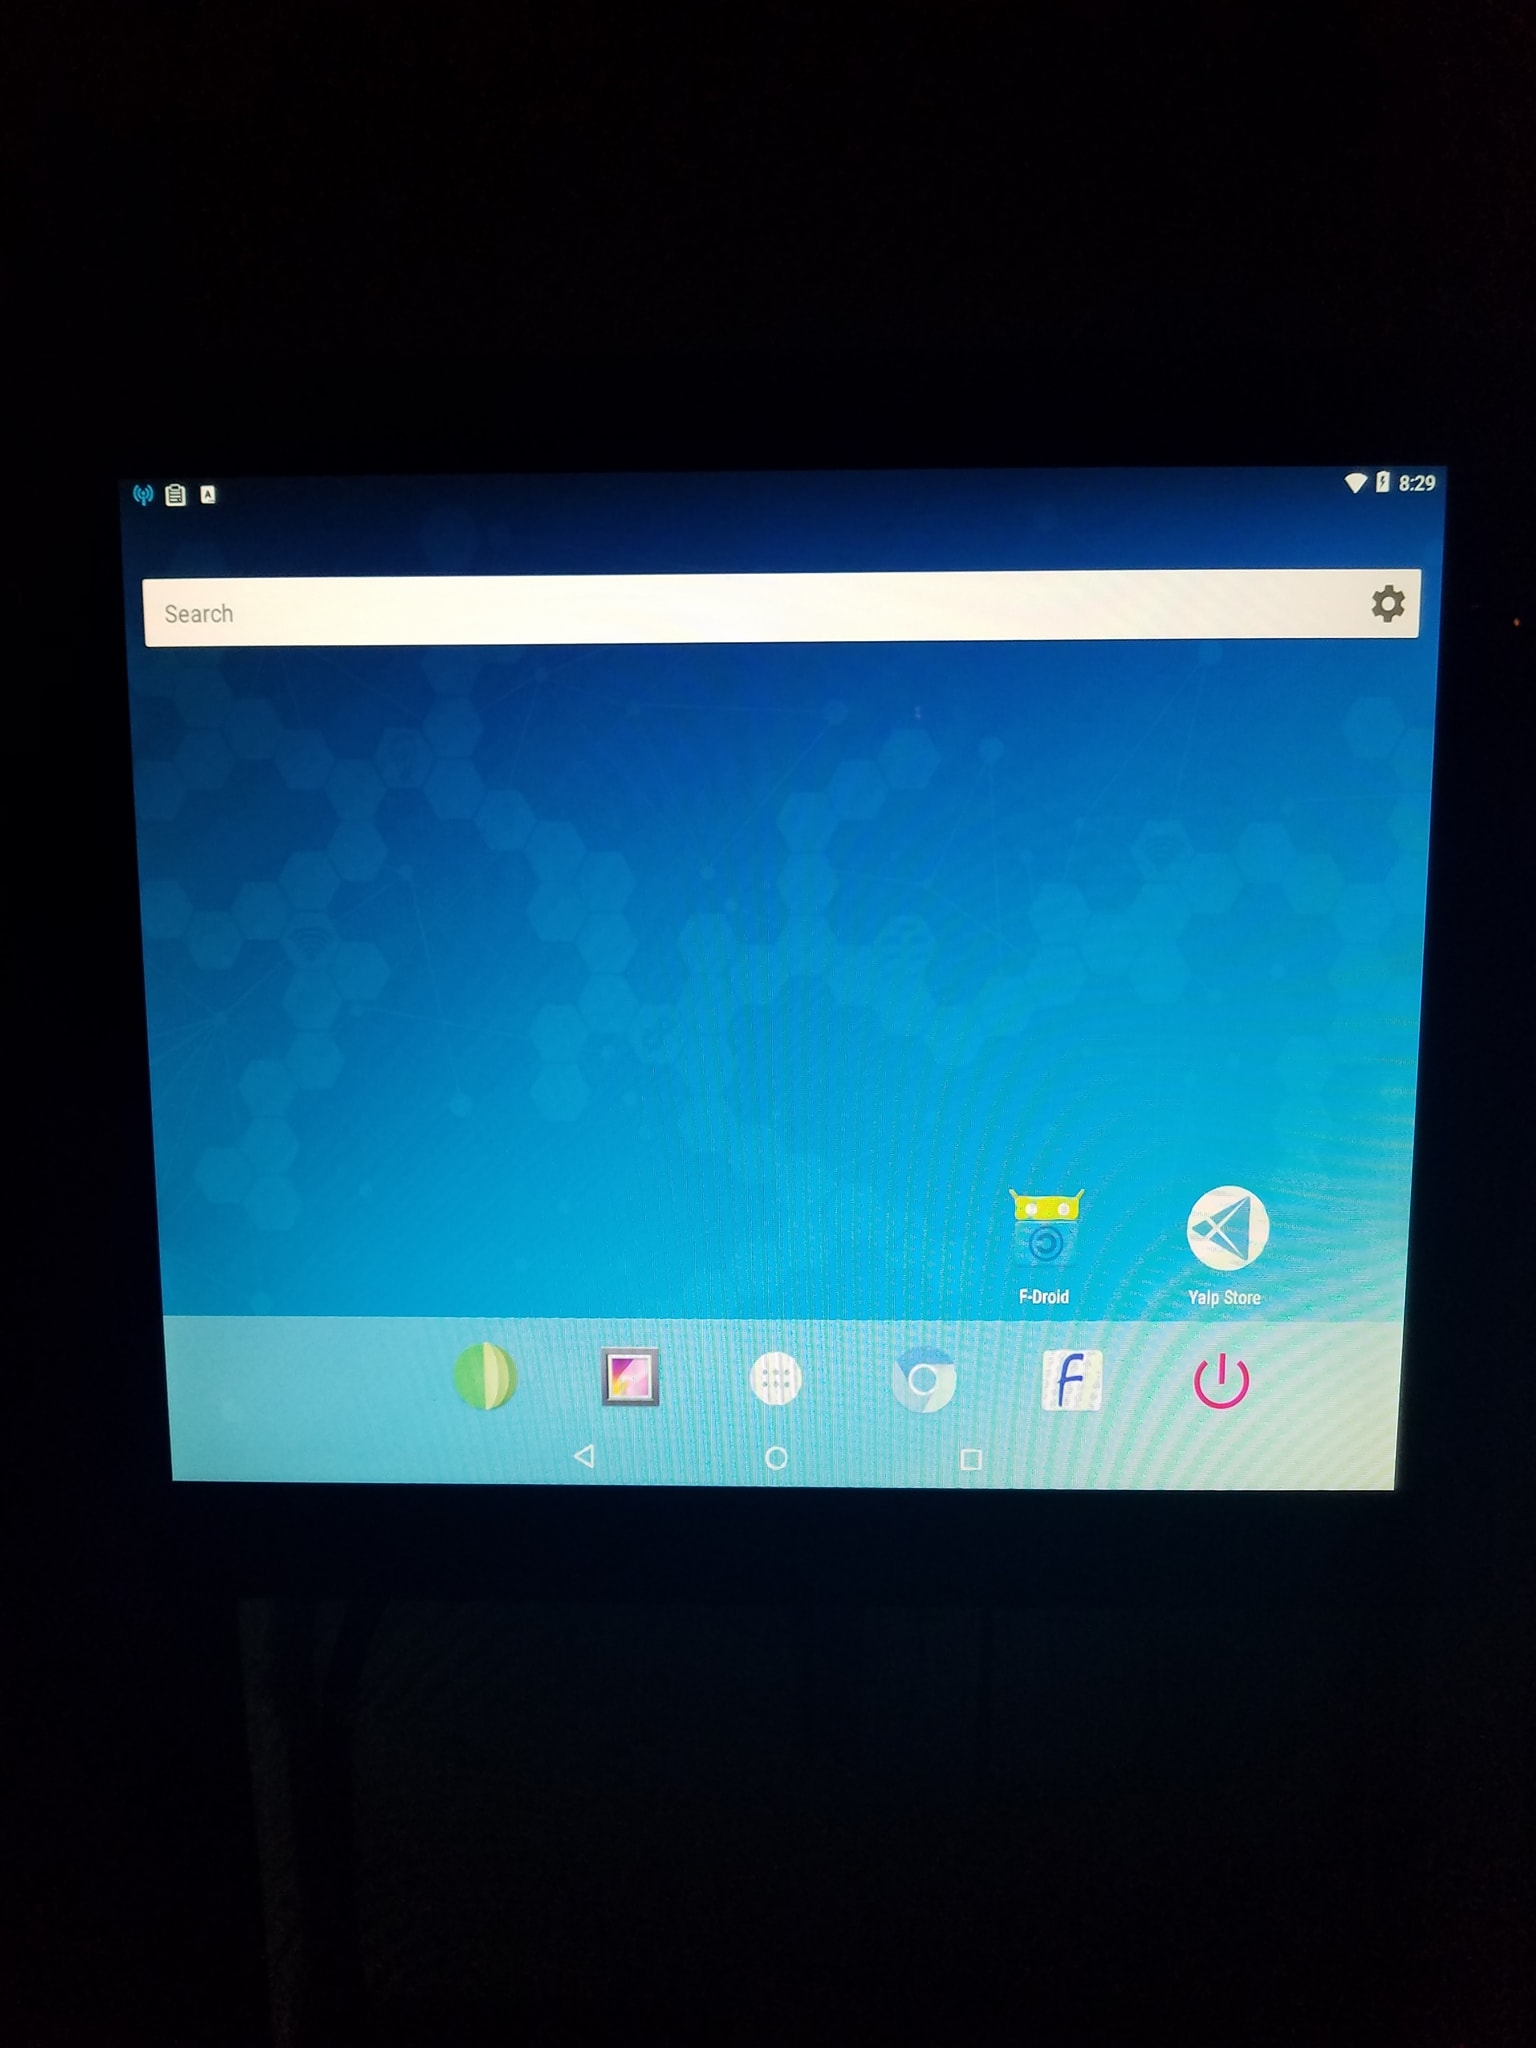
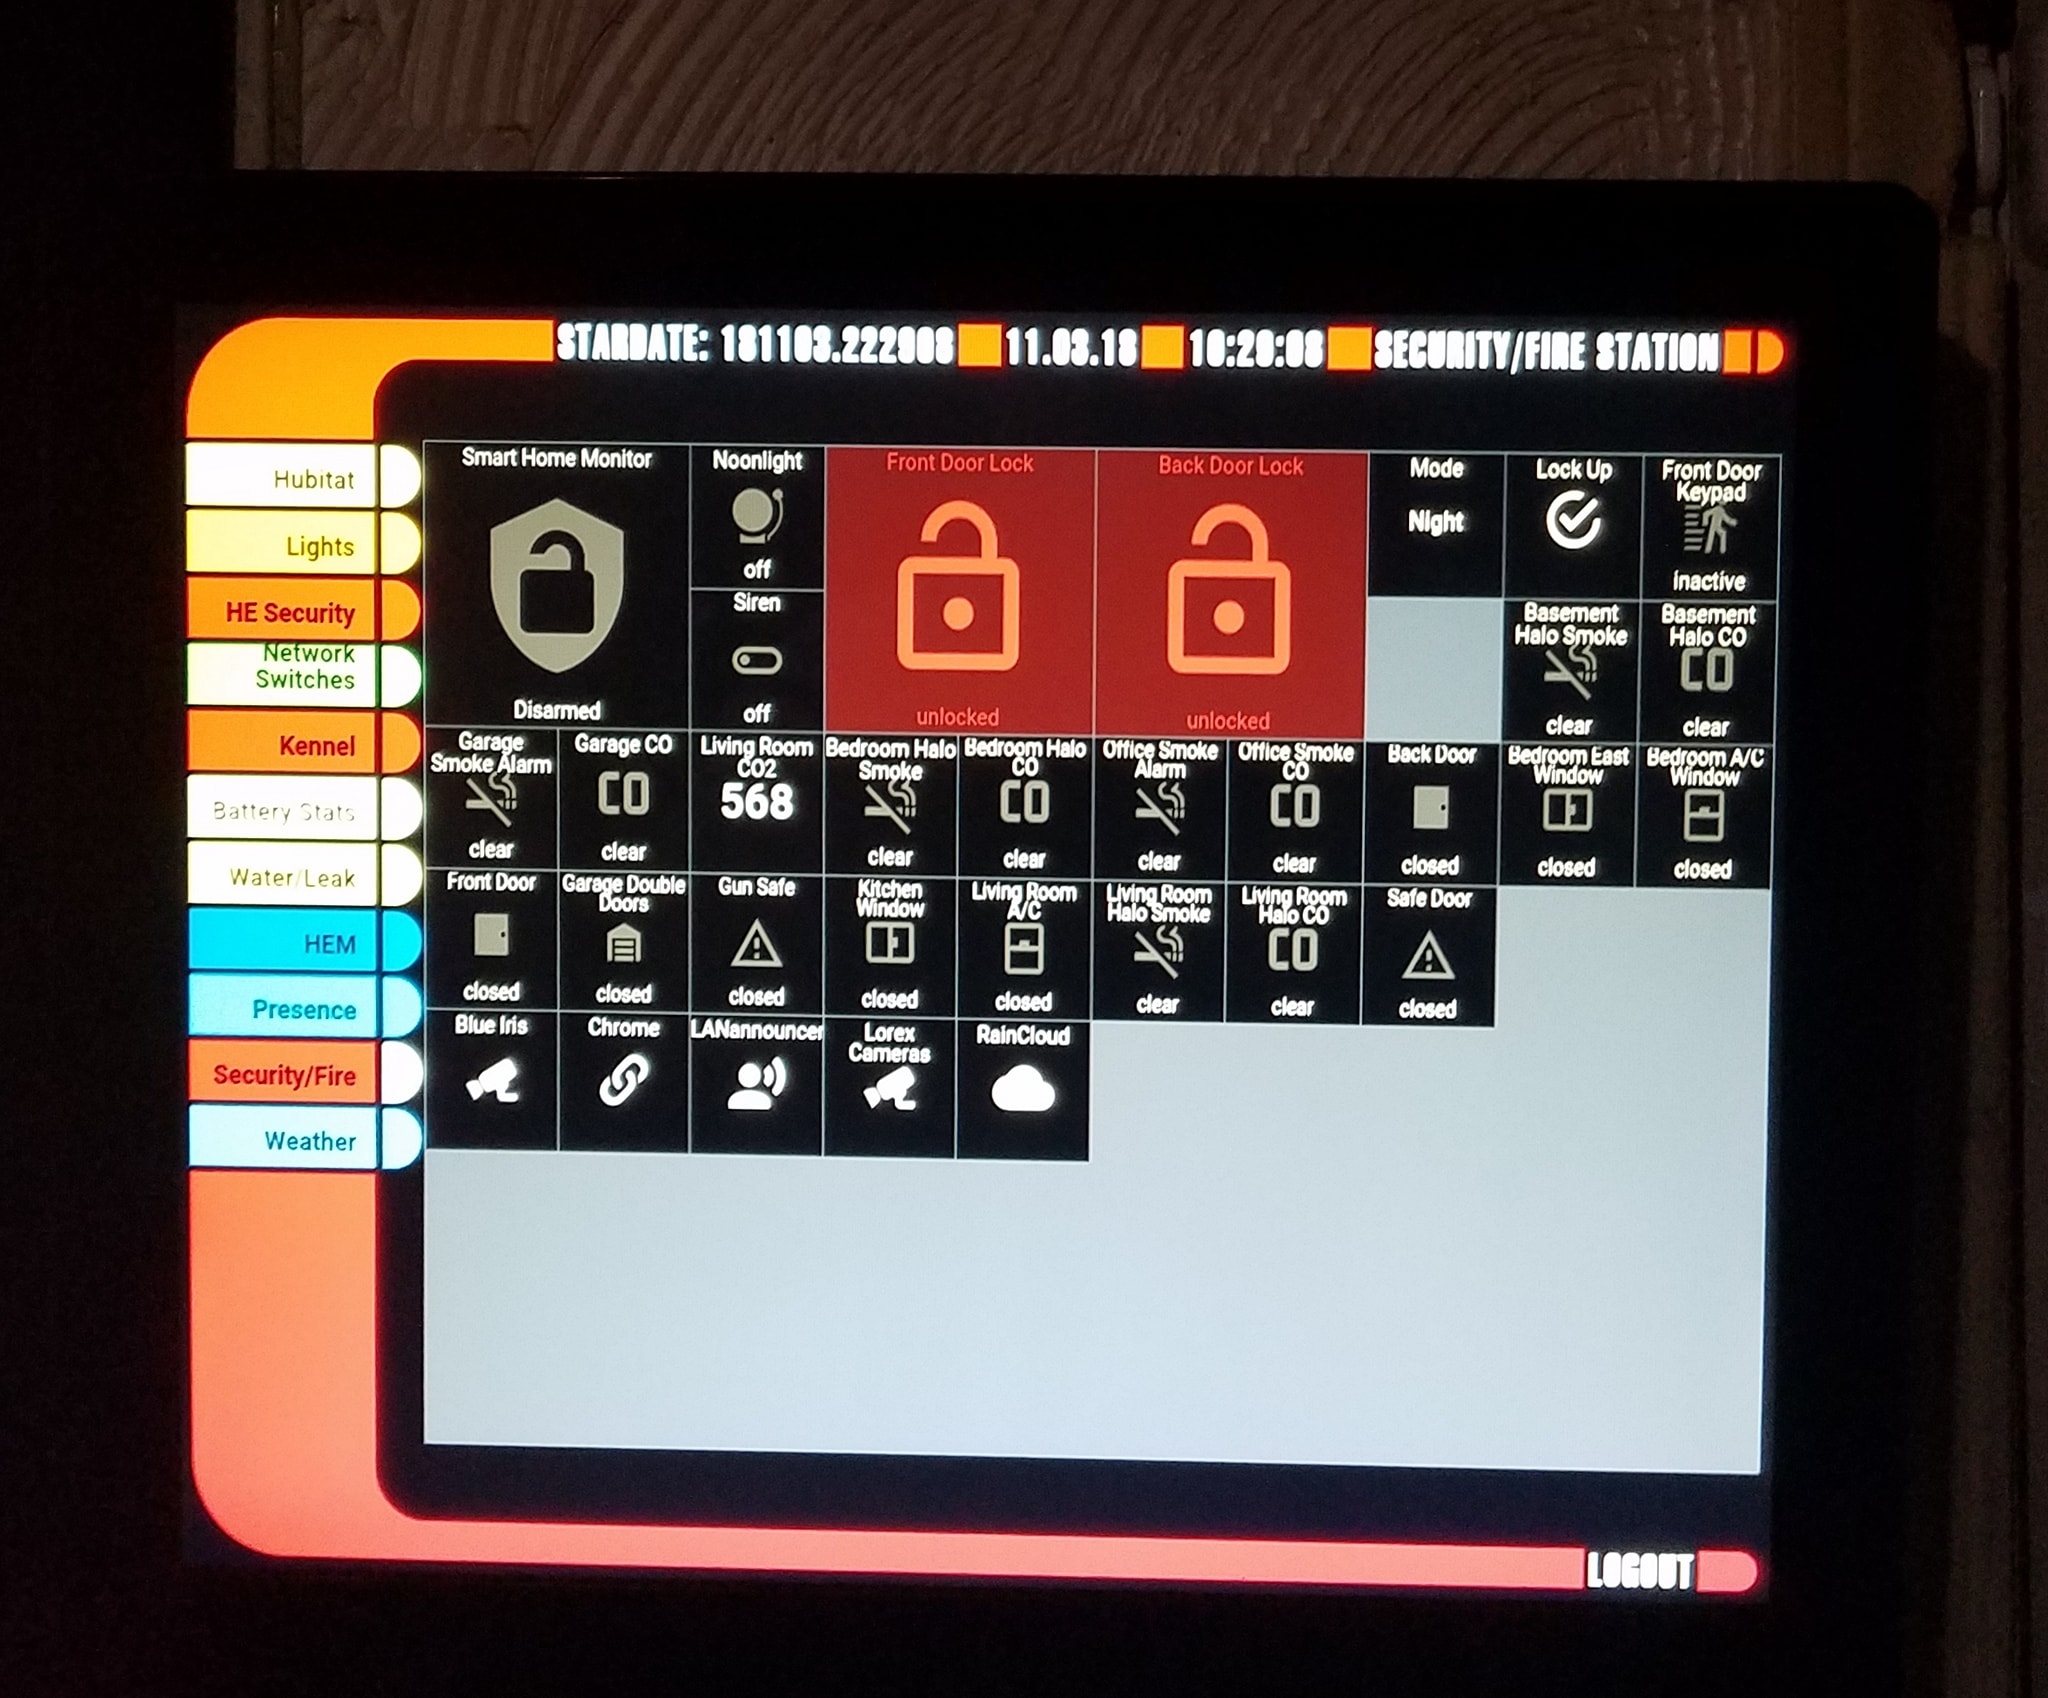
So my project was having a bigger touch screen for my home automation and its coming along just fine.... a week after I started I have it all working great. The touch screen I used is a Planar 19 inch and Fully Kiosk Browser.


0
Comments
Awesome, thanks for sharing!
Thanks !
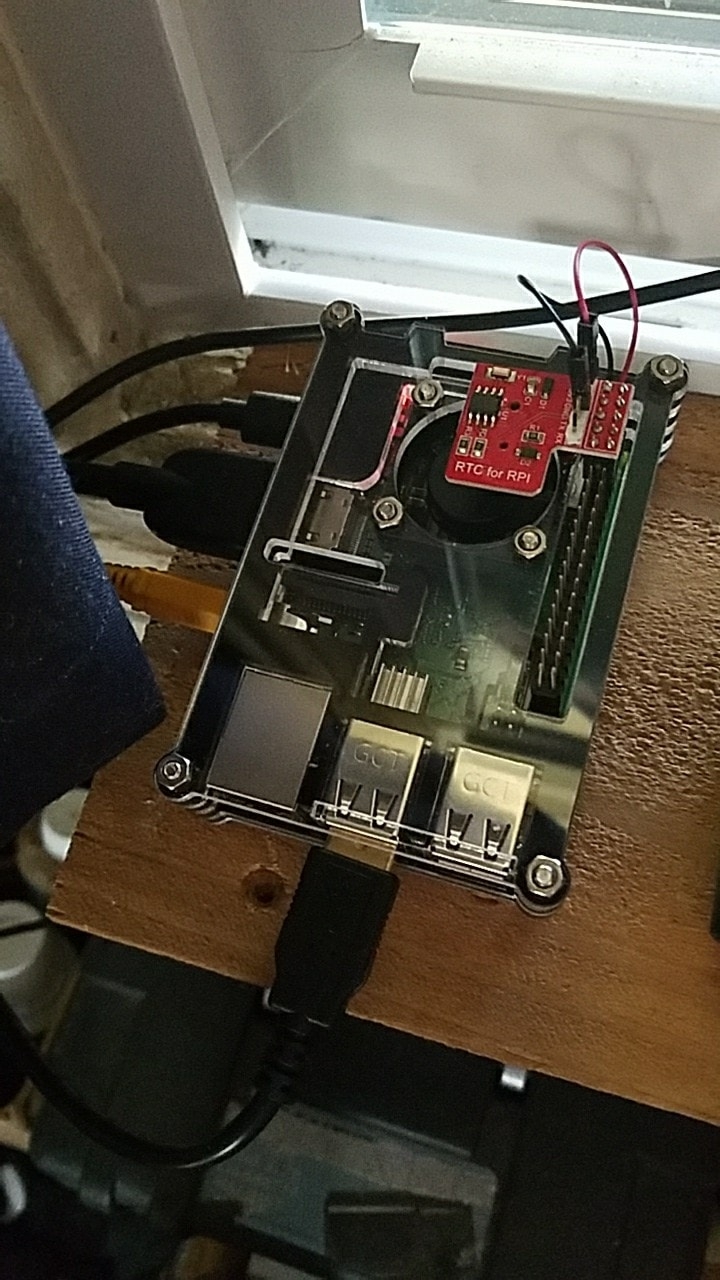
@sgrayban, which RTC do you use? Can you share the configuration? We can put a tutorial on our website.
very cool!
that would be great")
This one http://a.co/d/chDYroD
Makerfire® Raspberry Pi RTC Module Real Time Clock Module DS1307 Chip with Coin Battery
Directions
Edit /boot/config.txt
add
dtparam=i2c1=on
dtparam=i2c_arm=on
dtoverlay=i2c-rtc,ds1307
save file
reboot
login and check
type i2cdetect -y 1
Should show UU at line 60 slot 8
Then type
echo ds1307 0x68 > /sys/class/i2c-adapter/i2c-1/new_device
Make sure you are connected to the internet to let the Pi sync the right time from the Internet.
Once that's done, run date to verify the time is correct then run hwclock -w to write the time, and another hwclock -r to read the time and compare it's the same.
Reboot
The last step is hwclock -s but I don't see a way to auto execute that at boot time. Usually you can use /etc/rc.local but Android doesn't use it. Maybe @kalkov can answer that.
The purpose for hwclock -s is to make sure at boot time is synced from the RTC to system time/date.
If you are curious the RTC data is located in
/sys/class/i2c-adapter/i2c-1/1-0068